
Christmas came at our house, and it was by far our best Christmas yet- Shane was home from the fire department this year, no traveling, this was the first Christmas with my mom living in South Carolina, and we had so much time with our family. But as much as the holidays are fun, they can also be extremely busy and a little bit stressful. My go-to self-care is a facial + facials are a crucial part of my regular skin care routine (I do a full at-home facial once a week).
While I also have a completely DIY facial, I’m going to share with you today my perfected at-home facial with all my favorite products!
Step 1: Steam 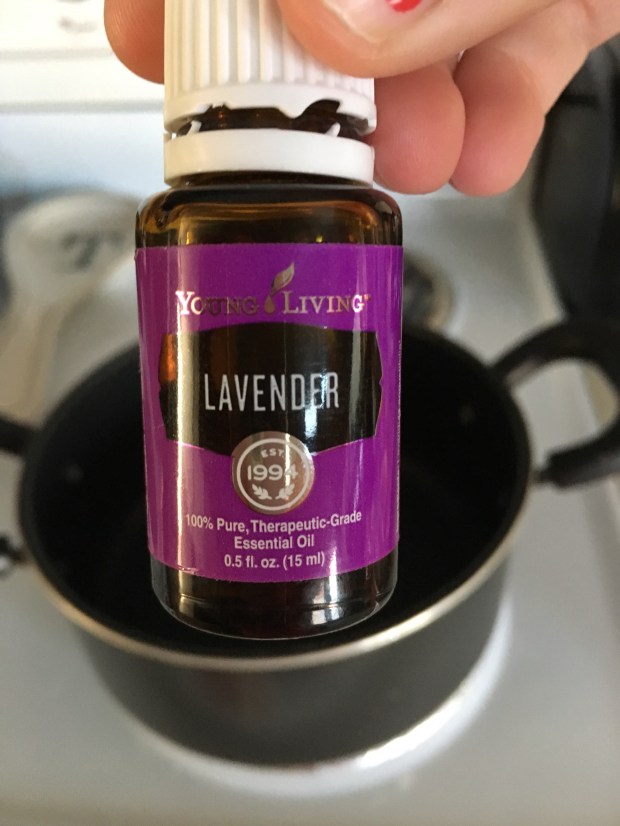
Simply pour about a cup of water in a pot on your stove top, add your favorite essential oil (or not), and bring to a boil. Stand with your face above the pot, and let the steam open up your pores for 10-15 minutes.
Step 2: Exfoliate 
Once you’ve steamed your pores, not only will your face feel amazing, but all that dirt, oil, and bacteria will be ready to be removed. Choose your favorite exfoliant and scrub all that yuck away!
Step 3: Tone 
This step is all about improving the actual quality of your skin cells- aka- evening tone, tightening skin, and minimizing pores. Feel free to use a store bought toner, but my favorite toner is apple cider vinegar mixed with water. It’s simple, organic, and it can clear up a breakout in no time. Just mix one tablespoon of ACV with three table spoons of water.
Step 4: Pore Cleansing and Refining Mask 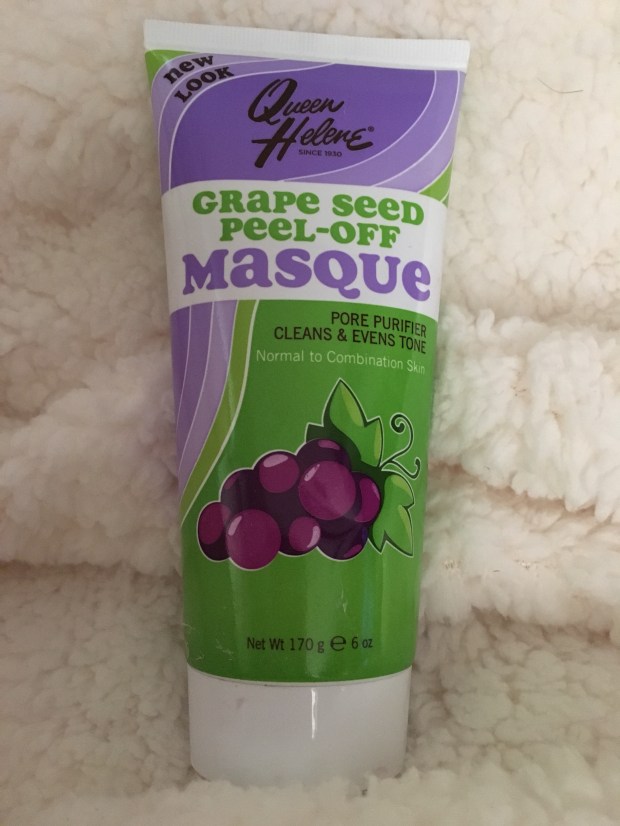
There are quite a few masks that clean out your pores- clay, peel-off, or mud. My personal favorite is the peel-off mask because it goes one step further and yanks the oil and dirt out of your pores when you peel it off. My face feels so fresh and clean after this mask, but also dry, which bring us to our next step.
Step 5: Moisturize 
So here, if you are short on time, you can just apply your favorite moisturizer and be done. But I’m extra, so I do another mask. Sheet masks are my FAV right now, and nothing really moisturizes better than one. So slap on your sheet mask and take a bath or listen to your favorite spa sounds while you wait it out!
Step 6: Water
This may be the most important step. To really get that “glow” you need to drink lots of water before and after your facial. There is just no way around it.
And that’s it! This full process usually happens over the span of an hour and is not only relaxing, but leaves me with glowing skin. If you want my instructions for my DIY facial with 100% made at home products, let me know and I’ll write it up for you! Thanks for reading, lovelies! Sweet dreams and Happy Travels!

